Wildlife Portraits
Leave Wide-Angle Lenses in the Bag
It is better when shooting wildlife portraits to not use a wide-angle. This is because of the distortion that occurs when using a wide-angle lens. The perspective in which a photographer uses a wide-angle lens does not, for the most part, fit into wildlife portraiture.
Telephoto Advantages
Keeping your distance can be important while shooting animals that you could potentially hurt or that could potentially hurt you. Therefore, telephoto lenses come in quite handy. A telephoto’s “narrow angle of view also allows for a colorful-blurred out background and different focus points on your subject that can give it an artistic edge or whatever look you’re going for.
Build a Three Layer Picture Space
We saw this in a previous section. This is when you spilt up the picture into three planes – foreground, midground, and background. The foreground is composed of the blurred visions, or maybe greenery, insignificant subjects, or other things that are not crucial to have in focus. The midground is composed of your subject and this should, usually, be in focus. The background should also be out of focus… or whatever you’re going for.
Sizing up the subject
Don’t spend a whole lot of time shooting just any wildlife. Find the most attractive. J
Facial Features in Focus
To us humans, we care most about the facial features of an animal, therefore photographers usually tend to put their faces in focus.
Group Portraits
To take a wildlife group portrait, try focusing on only one subject and letting the others complement that particular subject. Try to capture the way the subjects relate to each other and the relationship that they have.
Lighting
Two best times for lighting: early in the morning or late in the afternoon. Take your pick.
Finding Photogenic Landscapes
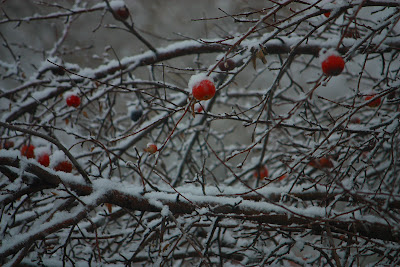
Color First
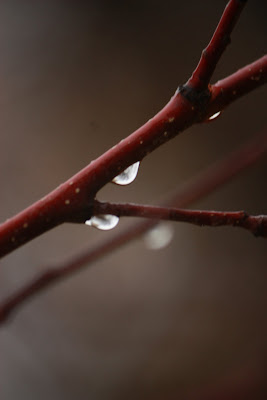
In a great photograph, there is amazing color. Therefore, when shooting a landscape look for bright colors that capture the eye… particularly red.
Clouds Make the Difference
Clouds just emphasize the beauty of a landscape. Different photographers have different opinions on what kinds of clouds make the best portraits. In the book, the author says a few of his favorites are “the cotton ball, and cumulous variety.”
Calm Atmosphere for Detail
When you are by a body of water, there’s no wind, and the reflection of the mountains are shining off the top of the water, you have an amazing photograph and take the opportunity to shoot it.
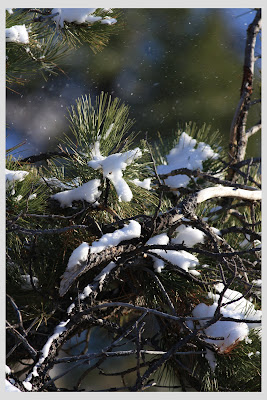
Let It Snow
Snow and the “fog, mist and falling snow infuse ordinary landscapes with a moody energy.” Depending on the look you’re getting, shooting in the snow is a great way to get an artistic, creative landscape photo.
North/South Camera Angles
These particular camera angles will “record landforms when they are illuminated by sidelight.” To catch the lighting just right, using north/south angles will do that for you and you will be able to capture amazing photographs.
Foreground Detail
Catching foreground detail puts a certain beauty into the picture. The foreground detail is what catches your eye and brings you into the picture. It can have a pretty awesome, dramatic effect.
Lunar/Solar Accents
Check your calendar for awesome lunar/solar accents then go shoot ‘em!
No Human Artifacts
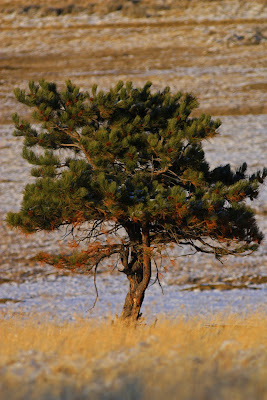
For “the most peaceful and productive experience” try really hard to find landscapes that are free from human symbols (telephone poles, highways, ect.) and humans to get that rustic, authentic feel to your photograph
 I like this picture because of the shadows the trees are making.
 I really liked how all of these pictures turned out.
 I really like this picture.
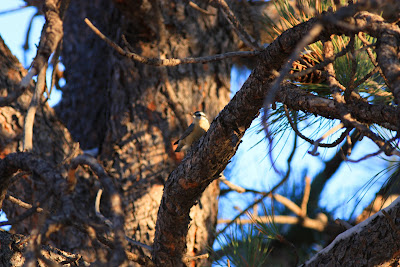
 I appreciate these birds... and this picture.
 This is another really simple picture.


 some form of growth around a sulfur pool
 the colors in this area amazed me...
 dead trees really captivated my attention on this trip..
 The next section we were to read in our wonderful Nature Photography books was the section on super-telephoto lenses. At the beginning of this section, Fitzharris explains to us that the super-telephoto lense that would most likely be worth your next purchase would be one with 500mm f/4. He suggests this lense because it is less expensive and lighter than the 600mm, although the 600mm has the greater reach.


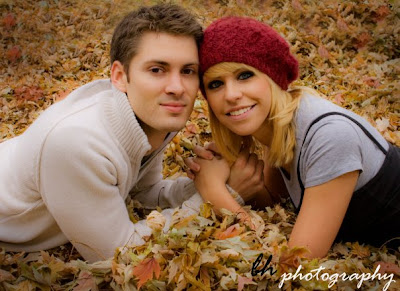
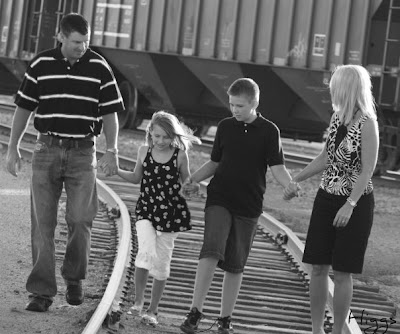 CAMBLIN FAMILY
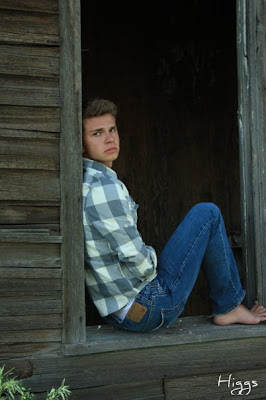
 BRITNEY HIGGS
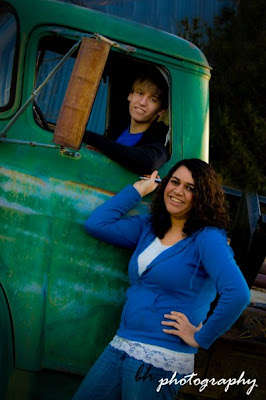
 KAYLEE AND TYLER CAMBLIN
 TAYLOR HAIDLE
 BRITNEY HIGGS
 CAMBLIN FAMILY
 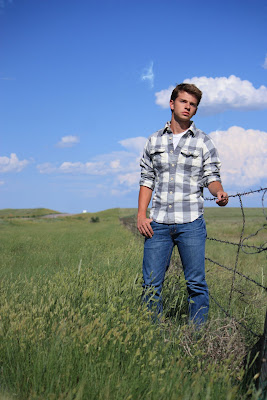 TAYLOR HAIDLE
 TAYLOR HAIDLE
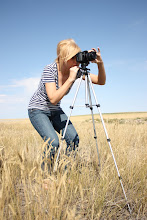