Super-telephoto Lenses
The next section we were to read in our wonderful Nature Photography books was the section on super-telephoto lenses. At the beginning of this section, Fitzharris explains to us that the super-telephoto lense that would most likely be worth your next purchase would be one with 500mm f/4. He suggests this lense because it is less expensive and lighter than the 600mm, although the 600mm has the greater reach.
Zoom Telephotos
Fitzharris explains to his readers that zoom telephoto lenses are "becoming more common" with today's photographers and he mentions one in particular that seems to be the "ideal choice" for nature photography: the Nikon 200-400mm f/4 VR.
Brand
Under this section, the author describes to his audience the types of brands of super-telephoto lenses that have the highest quality. Canon, of course, is on that list as well as Nikon. He mentions a few other brands but explains that with those particular lenses, they do not reach the total capacity that a Canon or Nikon brand can.
Lens Speed
This particular section really caught my attention, becuase it says that the lens speed is not as important as it use to be, thanks to better technology in lenses today. When I am shooting, I always get nervous to shoot with higher ISO because of the fear of not getting a clear, clean composition. However, Fitzharris explains that with the "development of digital sensors which produce excellent quality up to ISO 1000" is now possible. Amazing.
Close Focus
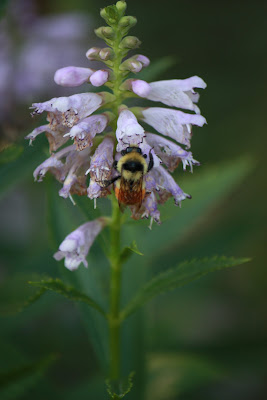
Close focusing talks about the ability to add an extension tube to your lense in order to capture large photos of small animals, plants, or other tiny objects while still getting a clear, beautiful picture.
Image Stabilization Sharpness
I think IS on the lense is one of the most ingenious things invented. I have this tool on both of my lenses and find it immensely helpful, it's not even funny. The exciting part is that IS or VR in the Nikon's case comes on super-telephoto lenses as well! And they greatly improve your photos by turning, for instance your "600mm f/4 into a super-fast 600mm f/1.4 without losing any depth of field."
Lens Color
This section merely hits on the "style" of your lense. Fitzharris warns that, even though "black super-telephoto lenses are classy and white one are intended to reflect heat, neither is suitable for nature work." That's right.. for the sake of the chance of getting an amazing picture, you need to go redneck and buy yourself a camouflage painted lense. Sacrifice the beauty of the lense for the beauty you'll create.


 3. This was taken with a somewhat fast shutter speed.

 A dead tree in between sulfur stuff...
 some form of growth around a sulfur pool
 the colors in this area amazed me...
 dead trees really captivated my attention on this trip..
 I was trying to get the small drops of water on the limbs of this plant-thingy
 Abandoned diner in Chester, Montana. Something we decided
 CAMBLIN FAMILY
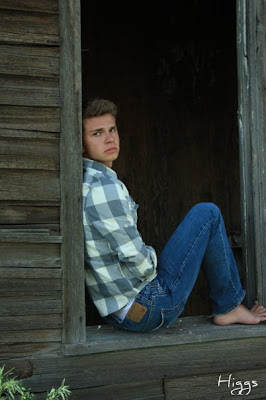
 BRITNEY HIGGS
 KAYLEE AND TYLER CAMBLIN
 SAMMY HIGGS
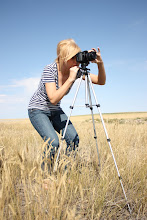
 TAYLOR HAIDLE
 BRITNEY HIGGS
 CAMBLIN FAMILY
 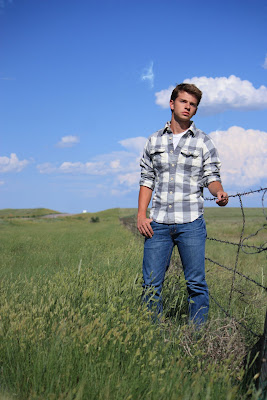 TAYLOR HAIDLE


 TAYLOR HAIDLE